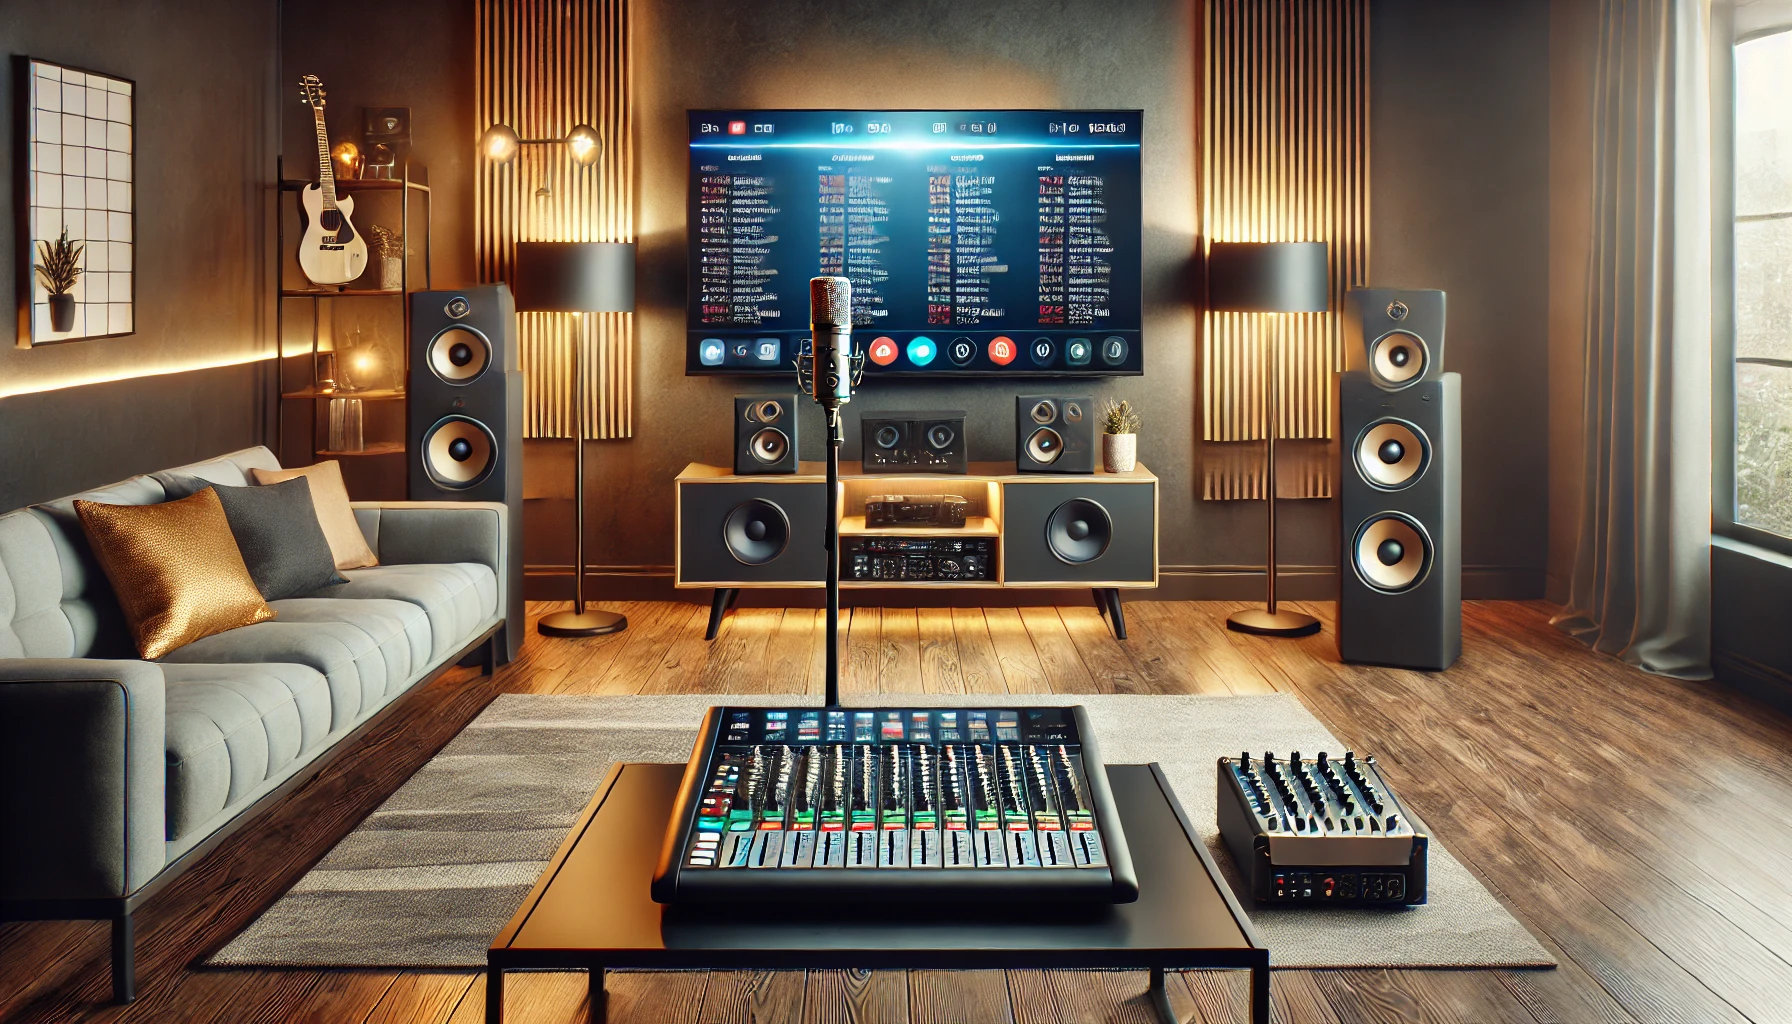
Want crystal-clear karaoke sound at home? Follow these 7 expert tips to set up the best home karaoke system and enjoy a professional singing experience! Singing karaoke at home is a fun and exciting way to entertain friends and family. However, setting up a karaoke system properly is crucial to achieving clear, balanced, and professional-quality sound. Whether you’re using a basic setup or a full PA system with a mixer amplifier, this guide will help you optimize your system for the best karaoke experience.
Step 1: Understanding the Essential Equipment
To create a great home karaoke setup, you’ll need the following equipment:
1.1 Karaoke Equipment Checklist
Microphones: Wireless or wired dynamic microphones (e.g., Shure SM58, Audio-Technica ATR2100X)
Mixer Amplifier: Adjusts audio levels and effects (e.g., Behringer Xenyx Q802USB, Yamaha MG10XU)
Speakers: PA or powered speakers (e.g., JBL PartyBox 310, Bose S1 Pro)
TV or Monitor: Displays lyrics from a karaoke app or YouTube
Karaoke Player or Software: Use YouTube, a dedicated karaoke machine, or apps like Smule
Cables & Stands: XLR cables for mics, RCA cables, and mic stands for better audio management
1.2 Estimated Cost of a Home Karaoke Setup
| Equipment | Price Range (RM) |
|---|---|
| Microphone (1-2 pcs) | 200 – 800 |
| Mixer Amplifier | 400 – 2,000 |
| Speakers (Pair) | 800 – 3,200 |
| TV / Monitor | 600 – 2,400 |
| Karaoke Player / App | Free – 1,200 |
| Miscellaneous (Cables, Stands) | 200 – 600 |
| Total Estimated Cost | 2,200 – 10,200 |
Note: Prices are approximate and may vary based on brands and features.
Step 2: Setting Up Your Mixer Amplifier
Once your hardware is ready, it’s time to configure the mixer for optimal sound balance.
2.1 Understanding Mixer Controls
A typical karaoke mixer amplifier includes:
Gain (Mic Level): Adjusts microphone input volume.
Equalizer (EQ): Controls bass, midrange, and treble frequencies.
Effects (Echo & Reverb): Adds ambiance to vocals.
Music Volume: Adjusts background music volume.
Master Volume: Controls overall system volume.
2.2 How to Connect Your Karaoke System
Connect the Microphones to the mixer’s mic inputs.
Connect the Mixer to the Speakers using appropriate cables.
Plug the Karaoke Player (YouTube, app, or machine) into the mixer.
Turn Everything On and set all volume levels to a moderate level before adjusting.
Step 3: Adjusting the Equalizer (EQ) for the Best Sound
The EQ settings enhance vocal clarity and balance music levels.
3.1 How to Adjust the EQ
Bass (Low Frequencies): Adjusts deep tones (male vocals, music bass).
Mid (Midrange Frequencies): Controls vocal clarity.
Treble (High Frequencies): Enhances sharpness and crispness.
Recommended EQ Settings for Karaoke:
Start with a Flat EQ: Set bass, mid, and treble knobs to 12 o’clock (neutral position).
Adjust Treble (Sharpness & Clarity)
If vocals sound dull → Increase treble (+2 to +4 dB).
If vocals are too sharp → Reduce treble (-2 to -4 dB).
Modify Midrange (Vocal Strength)
If vocals are muffled, increase midrange (+2 to +3 dB).
If vocals are harsh, slightly lower midrange (-2 dB).
Tune the Bass (Depth & Warmth)
If sound is thin, boost bass (+2 to +3 dB).
If bass is muddy, lower it (-2 to -3 dB).
💡 Pro Tip: Avoid extreme EQ adjustments to maintain natural-sounding vocals.
Step 4: Adjusting Effects (Echo & Reverb) for a Professional Sound
Effects can improve vocals, but excessive use can cause distortion.
Echo: Adds a delayed repeat of the voice for smoother sound.
Recommended setting: 10-20% intensity.
Reverb: Simulates a natural hall effect, enhancing depth.
Recommended setting: 10-30% intensity.
🎤 Best Practice: Use light effects for better clarity. Too much echo makes lyrics unclear.
Step 5: Balancing Music and Microphone Volume
Set Master Volume to 50% as a starting point.
Adjust Microphone Volume so vocals stand out clearly.
Balance Music Volume so it supports but does not overpower singing.
Test and Fine-Tune – Sing a few lines and tweak levels for best performance.
💡 Pro Tip: If you experience feedback (high-pitched squealing), lower the gain or move microphones away from speakers.
Final Tips for a Professional Karaoke Experience
✅ Use a Pop Filter – Reduces plosive sounds (“P” and “B”). ✅ Set Different EQ for Male & Female Voices
Male vocals → Slightly boost mid and bass.
Female vocals → Slightly boost treble and mid. ✅ Prevent Audio Distortion – Keep volumes balanced and avoid overloading the system. ✅ Upgrade Your Setup – Invest in quality mics, speakers, and a proper karaoke software for better results.
Conclusion
A well-tuned karaoke system makes a huge difference in sound quality and overall enjoyment. With the right setup, proper EQ adjustments, and balanced audio settings, you can transform your home into a professional karaoke studio! 🎤🎶
Looking for the best karaoke equipment? Explore brands like Shure, JBL, Yamaha, and Bose to elevate your home karaoke experience.
Shopee Link: Buy Now RM399 !
Website Link : From SBE


