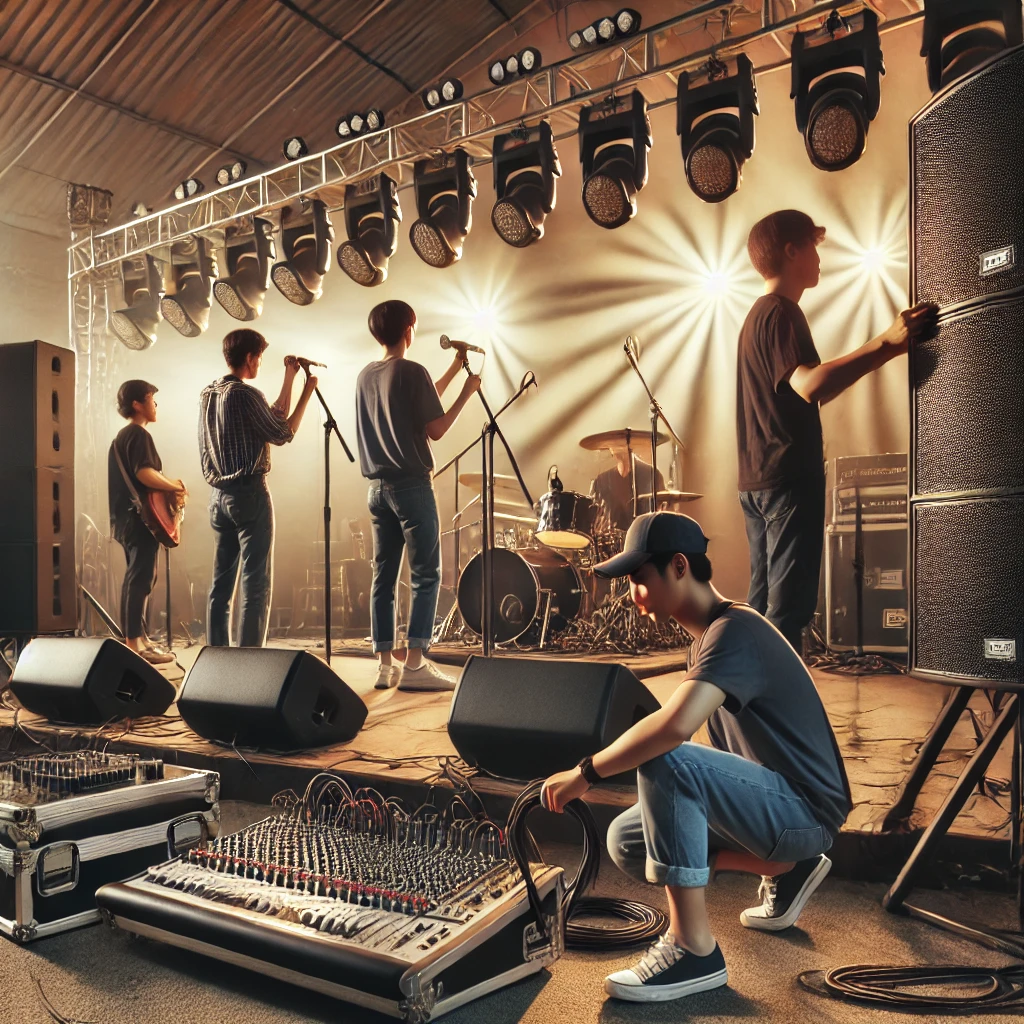
Essential Guide to Setting Up a PA System for a Band
Learn how to set up a PA system for a band with 6 powerful steps to achieve clear, professional live sound. Perfect your band’s performance today!
Step 1: Essential Equipment for a Band PA System
Before setting up your PA system, ensure you have all the necessary components:
-
Mixing Console – Controls input levels, EQ, and effects (e.g., Behringer X32, Yamaha MG12XU)
-
Power Amplifiers – Amplifies audio signals before reaching speakers (if not using powered speakers)
-
Speakers – Main PA speakers and subwoofers (e.g., JBL EON615, QSC K12.2)
-
Microphones – Wired or wireless mics for vocals and instruments (e.g., Shure SM58, Sennheiser e935)
-
Monitor Speakers – Allow band members to hear themselves clearly on stage
-
Cables & Stands – XLR cables, instrument cables, mic stands, and speaker stands
-
Audio Interface (Optional) – For recording or integrating with digital devices
Step 2: Positioning Your Equipment for Optimal Sound
2.1 Speaker Placement
-
Main PA Speakers: Position them at least 6 feet high and slightly angled towards the audience.
-
Monitor Speakers: Place them in front of performers, angled upward for better stage monitoring.
-
Subwoofers: Position them near the stage, preferably on the ground for better low-frequency response.
2.2 Microphone Setup
-
Vocals: Position vocal microphones 6–12 inches from the mouth.
-
Instruments: Use dynamic or condenser mics depending on the instrument.
-
Drums: Consider using a dedicated drum mic kit for a balanced mix.
Step 3: Connecting and Setting Up Your PA System
-
Connect Microphones & Instruments to the mixing console.
-
Link the Mixing Console to the Amplifier or Powered Speakers using XLR or TRS cables.
-
Connect Monitor Speakers for stage monitoring.
-
Plug in and Power On the System to begin adjustments.
Step 4: Adjusting the Mixing Console for Optimal Sound
4.1 Setting the Gain and Volume Levels
-
Set input gain levels so they are strong but do not clip (red distortion lights should not appear).
-
Balance each instrument and vocal channel by adjusting the faders.
4.2 Equalization (EQ) Settings
-
Bass (Low Frequencies): Adds depth and warmth to instruments.
-
Midrange (Mids): Enhances vocal clarity.
-
Treble (High Frequencies): Provides brightness to the sound.
-
Recommended Starting EQ: Keep all bands flat, then adjust based on the venue’s acoustics.
4.3 Adjusting Effects and Reverb
-
Apply light reverb for a more natural sound.
-
Use compression to balance volume inconsistencies.
-
Avoid excessive effects to maintain clarity.
Step 5: Sound Check and Troubleshooting
5.1 Performing a Sound Check
-
Have the band play a song or perform a section to check sound levels.
-
Adjust volume, EQ, and effects accordingly.
-
Ensure there’s no feedback by adjusting mic placement and reducing gain if necessary.
5.2 Common Troubleshooting Tips
-
Problem: Microphone feedback → Lower gain, reposition mics, or use EQ to cut high frequencies.
-
Problem: Weak or muffled vocals → Increase midrange and reduce bass in the EQ settings.
-
Problem: Unbalanced instrument levels → Adjust volume faders and pan settings on the mixer.
Final Tips for a Professional Sound
✅ Use High-Quality Cables – Prevents signal interference and noise. ✅ Test the System Before the Show – Ensures all components function correctly. ✅ Have Backup Equipment Ready – Extra cables, mics, and stands can save a performance. ✅ Adjust EQ Based on the Venue – Different spaces require different sound adjustments.
By following these steps, you can achieve a professional-quality sound for your band’s performances. A well-optimized PA system ensures clear vocals, balanced instrumentals, and an overall immersive live music experience. 🎶
📞 Need Further Assistance? Contact our support team at https://sbe-elk.com/

